Enter with Standalone VRChat
Here, the instructions for entering Virtual Market on a standalone VR device (which does not require PC connection) will be explained.
Meta Quest 2, Meta Quest 3, Meta Quest 3S
*Performance is not guaranteed on devices other than these recommended devices
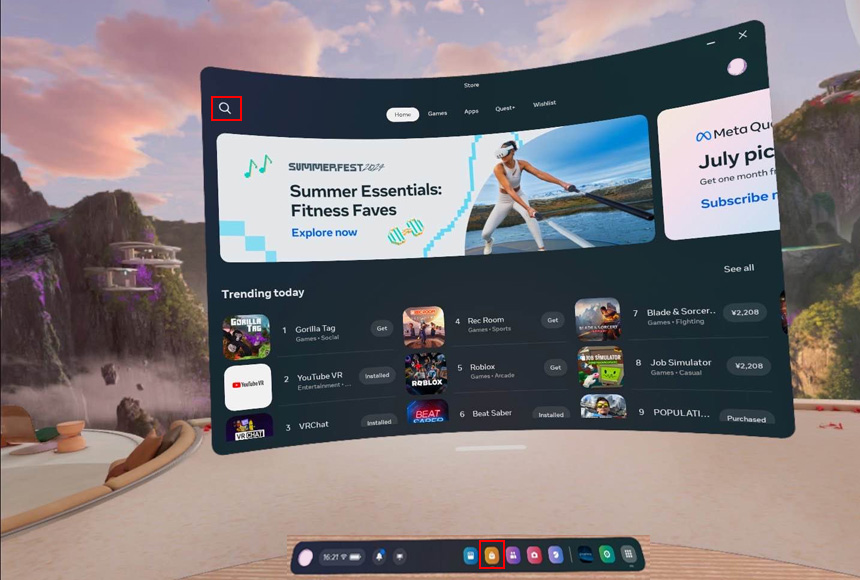
Launch Quest and press the Store button to access the store.
Once you are in the store, press the “Search” button at the top.
Enter “VRChat” in the search field and press Search.
You will find “VRChat” in the search field.
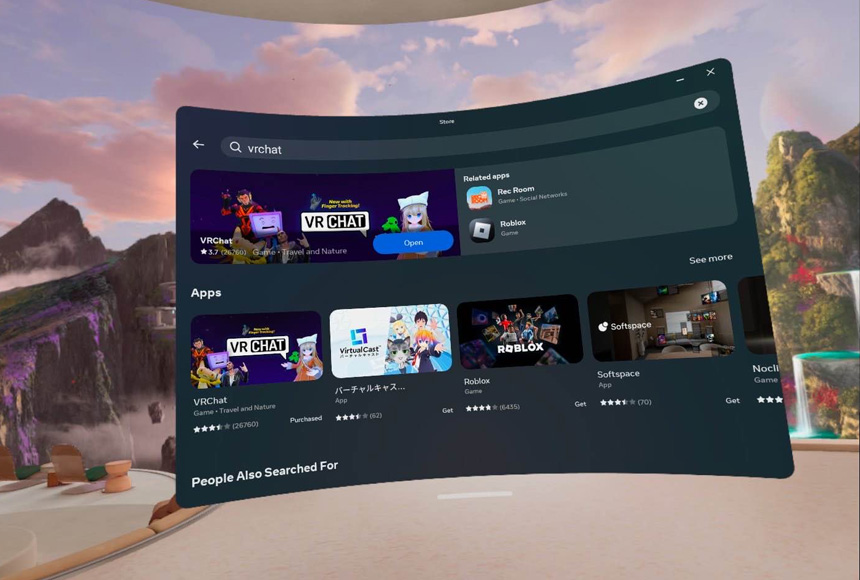
Select “VRChat”, and you will see a screen as above.
Press “Free” to start the installation.
Once the installation is completed, press “Start” at the same location to start VRChat.

After starting VRChat, select the language of your preference.
Then press the “Oculus” button to proceed with your login.
Once you have confirmed your birthday and terms, you can enter VRChat.
*If you already have a VRChat account, you may use it to login by pressing “VRChat”.If you prefer to create one, press “Create Account“!

1.Search for the world within VRChat
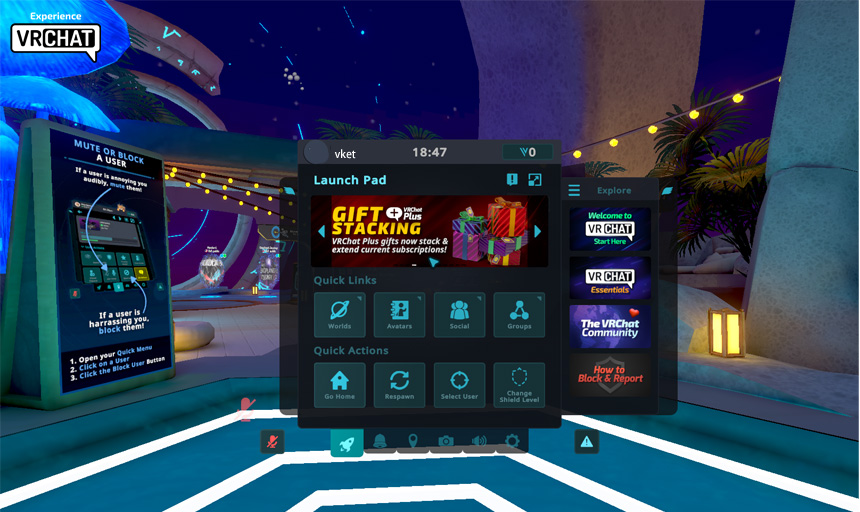
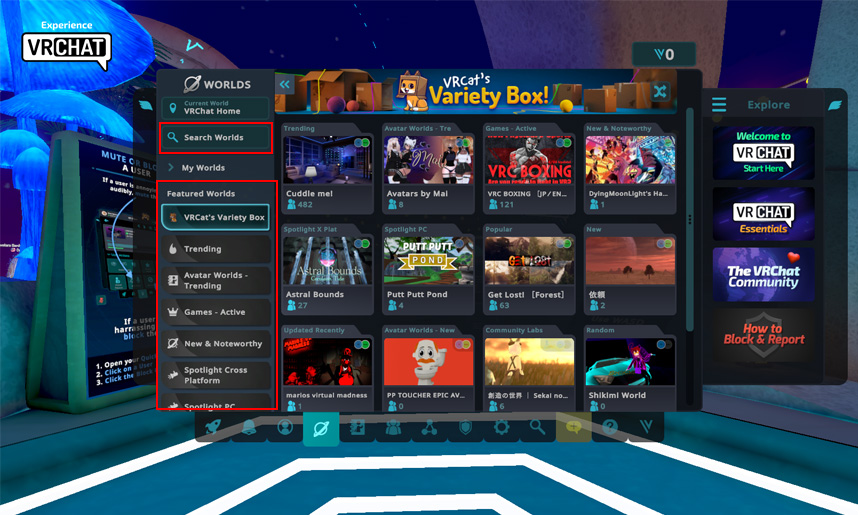
After entering VRChat, press the Y button to open the menu. From the menu, press “Worlds”.
Click the “Search” button in the upper right corner.
Click the “Search Worlds” button in the upper right corner.
*During the Virtual Market event period, a special tab for Vket worlds will be added in the VRChat World menu! Please use this tab for quicker access.
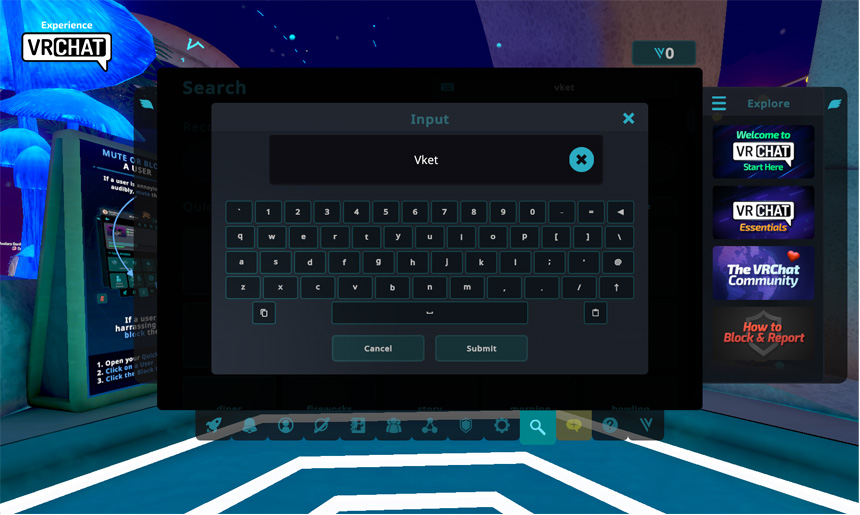
Enter “Vket” or “vket2025” in the Input field and click the Submit button.
You will find the list of Virtual Market worlds. Select the world that you want to visit.
Click the “Join” button to visit each venue worlds.
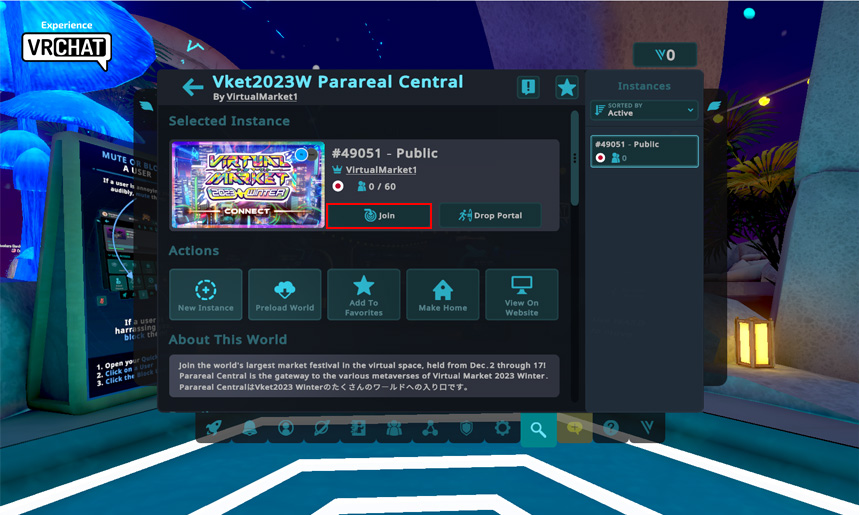
*Above images are for references, actual appearance may vary.
*The loading may take longer time depending on your environment.
*When running the Standalone VR version of VRChat, you may only access Virtual Market worlds with Standalone support. Please note that not all Virtual Market worlds are accessible by Standalone VR devices.
2.Using World Links and Invite Me
You can also visit Virtual Market from the world link on the catalog pages or on the top of this page.
Firstly, get inside the VRChat by following the steps explained above.
Then, click the world link on your browser to open a window like below:
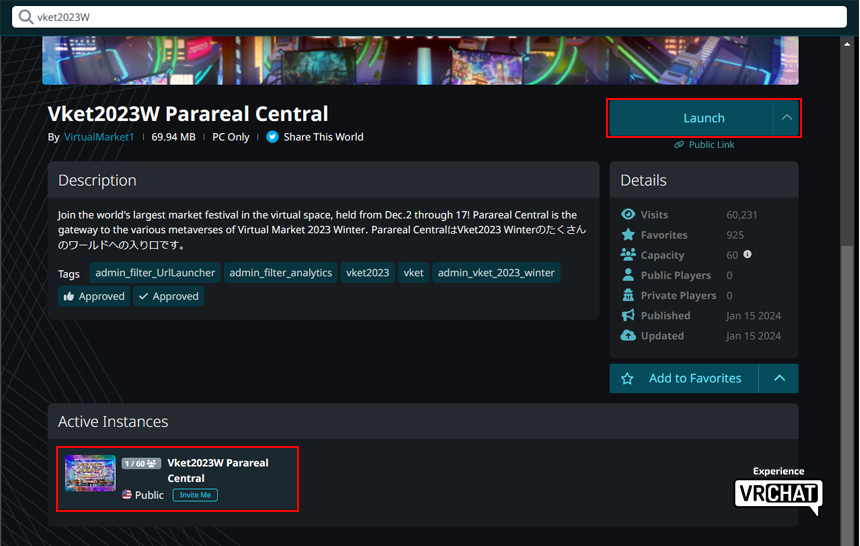
Here you can see all accessible instances at the bottom left, alongside the number of players inside.
Click the instance of your choice. Alternatively, you can choose to create your own instance with the Launch button on the right.
"Friends+" comes handy when you want to restrict the entrance to your friends or the friends of them in VRChat.
"Invite+" provides even stricter control, letting people in only if they are invited.
You will now see a window like below:
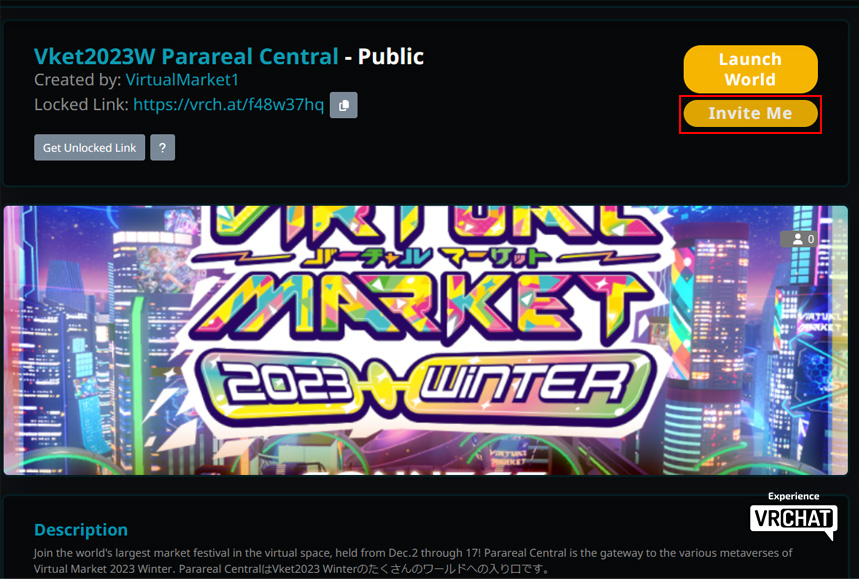
Click "INVITE ME" to send the invitation for this instance in VRChat.
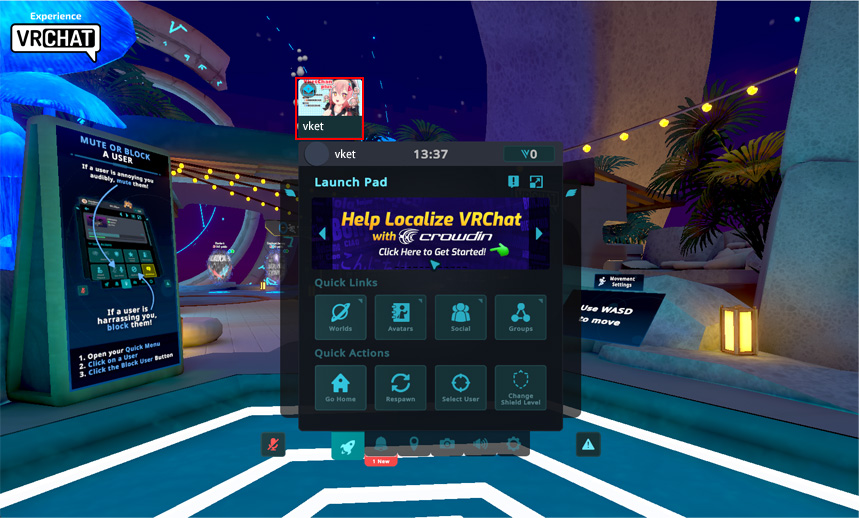
Inside the VRChat, you will find the invitation on the top left of the Quick Menu.
In desktop mode, you can open the Quick Menu by pressing Esc key.
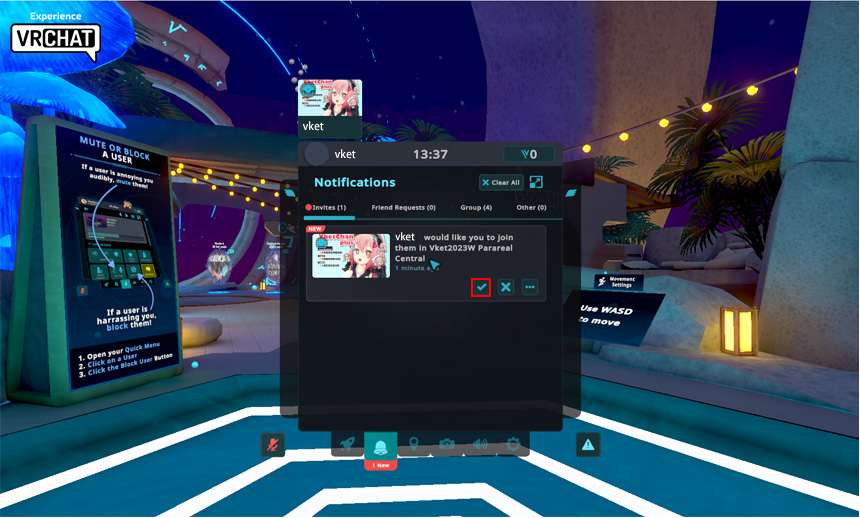
Click this invitation and press the checkmark… et voilà! You are now in the desired world instance!
- This event permits photographing and streaming by individuals and media. Please consent beforehand that you may unexpectedly appear in these photos and videos. If you want to avoid such appearances for sure, please use the private world of the VRChat or the Vket Cloud.
- Please do not visit the event in illegal, unlicensed and/or avatars against public order and morality.
- Please refrain from annoying or unwelcome behaviors.

