How to make UV2 (UV for Lightmap)
- What is "UV2"?
- How to make UV2
- Important notes for UV2
- Examples
"UV2" is a UV for lightmap. It is created in advance on blender, etc....
Even if you haven’t prepared the UV for lightmap in advance, lightmaps will be automatically generated by checking "Generate Lightmap UVs" on Unity. However, there are some cases where UV is cut in a strange place, and messy lightmaps may be generated. Check the example below to see why you may need "UV2".
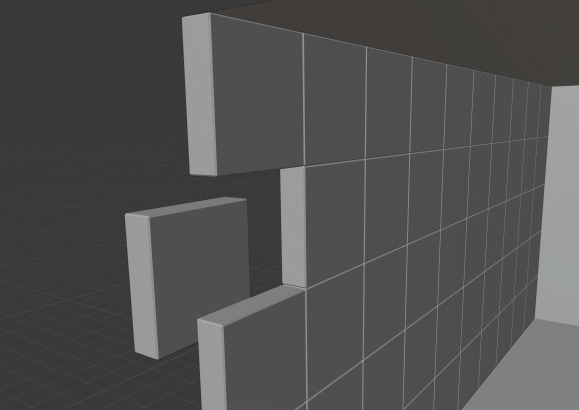
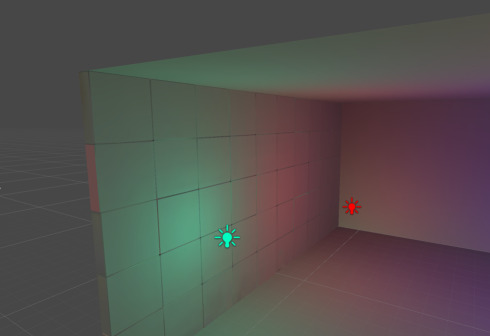
In the image below, we try to illuminate the wall made with the beveled panels with multiple lights.
The image below is the automatically mapped lightmaps without creating UV2. The reflection looks messy, illuminating panels on the right side in green when it should be red.
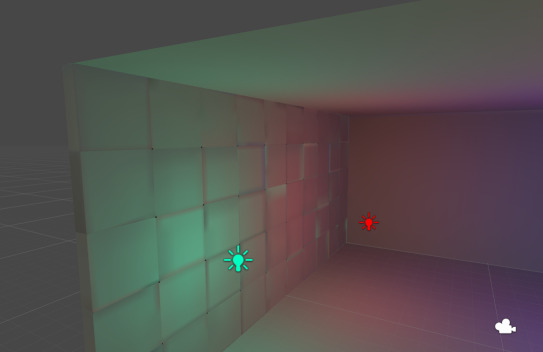
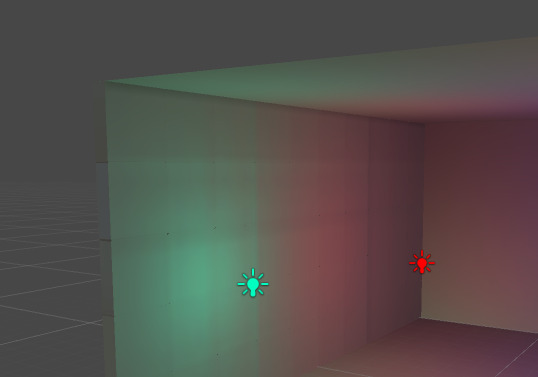
Then, here is the example with UV2 created. The light is baked neatly in a far better way.

Why does automatic mapping make messy lightmaps?
This is because the two UVs got mixed up on the lightmap (the UV of the surface illuminated by green and the UV of the surface illuminated by red) upon automatic generation. Adjacent UVs on the lightmap will interfere with each other when they are close. If UVs with different colors are next to each other, the colors will look strange like this example.
Here we explain how to make UV2 using Blender.
Please note that UV2 cannot be created with certain softwares such as Metasequoia.
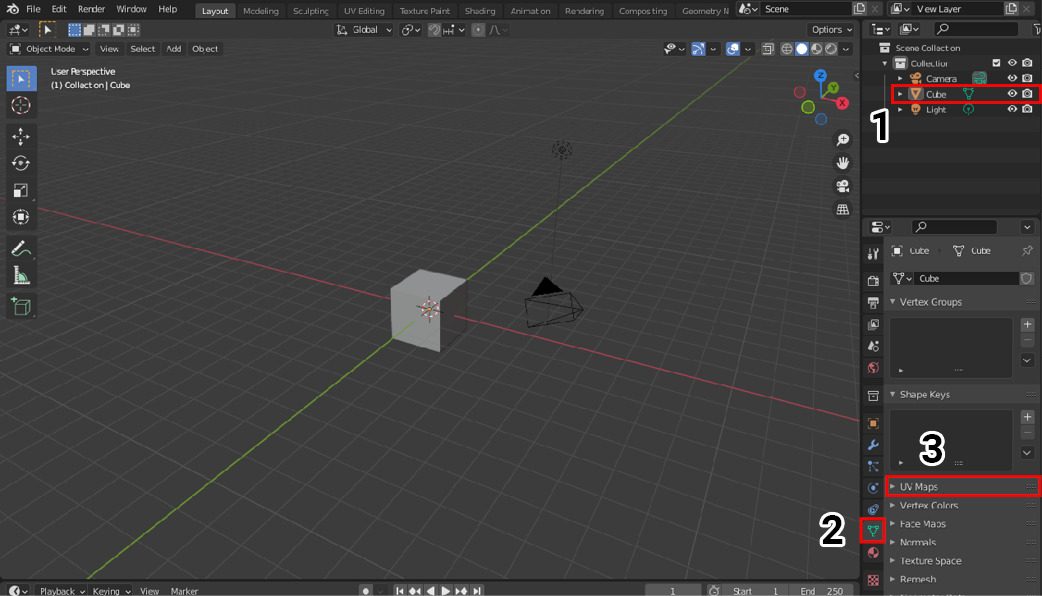
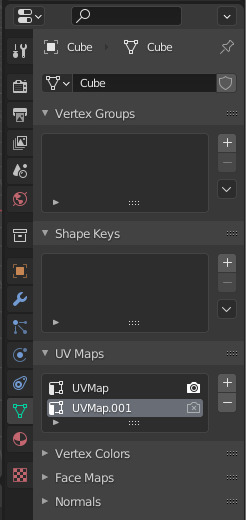
Firstly, select the object that you want to create UV2, and then open the UV map item as below.
Then, you will see the current list of UV maps as below. Press the plus button on the right side.
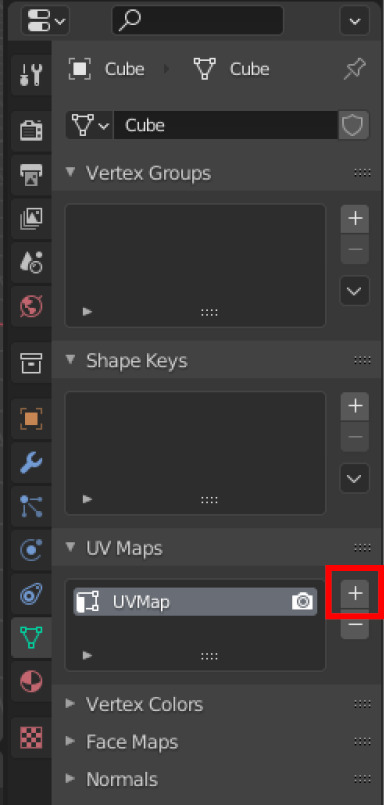
Second UV map will be generated. Select this new one.
Just unwrap the mesh for UV mapping as usual.
This is it. Once you know how to do it, it's easier than you think. After creating UV2, you need to reselect the original UV.
Next, we will explain some notes upon creating UV2.
The procedure for creating UV2 is a bit different from UV mapping for textures. The below points are notes when creating UV2.
- Keep all UVs within the map range
- Don't overwrap UVs (No UV overlapping as a result of mirroring)
- Don't make weird UV cuts (such as cutting a flat surface diagonally)
- Try to minimize UV distortion
- Keep some distance between UV islands (especially those islands that you know to have different light effects)
- Place islands with similar color from light at closer locations
- Separate into bright and dark areas when illuminated
- Save space by keeping UVs small where no light hits
Notes in bold are absolute. There is no point in making UV2 if you do not follow those rules.
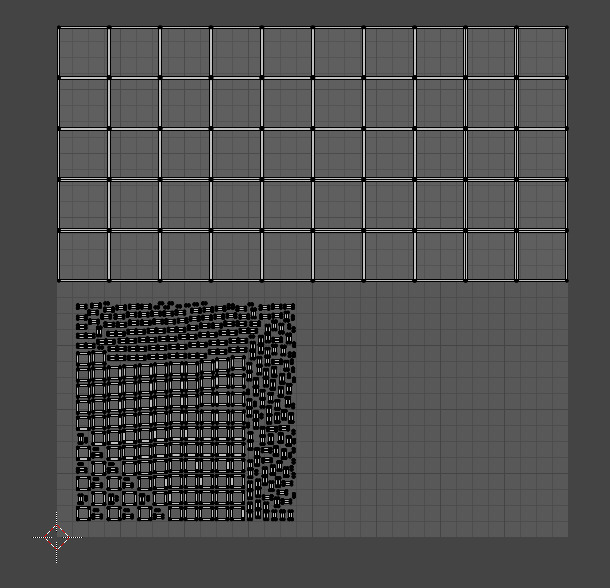
Above Example
This example's UV2 is shown below.
Not-so-good example
This looks weirdly flatter than the previous one. This example's UV2 was made as below.

It is generated by projecting in parallel except for the beveled area. The rest were automatically unwrapped and reduced in size. The beveled area should be cast some shadow. However, because the area is sandwiched between UVs with strong light, the shadow has almost disappeared.

